Software Installation
Introduction
The ITC software manager contains 3 main features:
Below a description will be shown of the ‘Install Software’ feature.
Install Software
In order to install software, you need to start the ‘Install software’ feature of the ITC Software Manager. You can start this feature by using
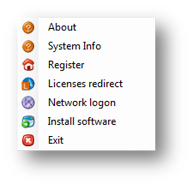
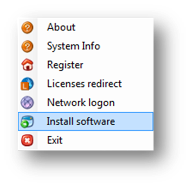
either the shortcut placed on your desktop / start menu during the installation of the ITC Software Manager, by double clicking the ITC Software Manager icon in the system tray (next to your windows time clock), or right clicking the system tray icon, and selecting "Install software". The Software install screen will be started as default.
The program will start up with the following screen:
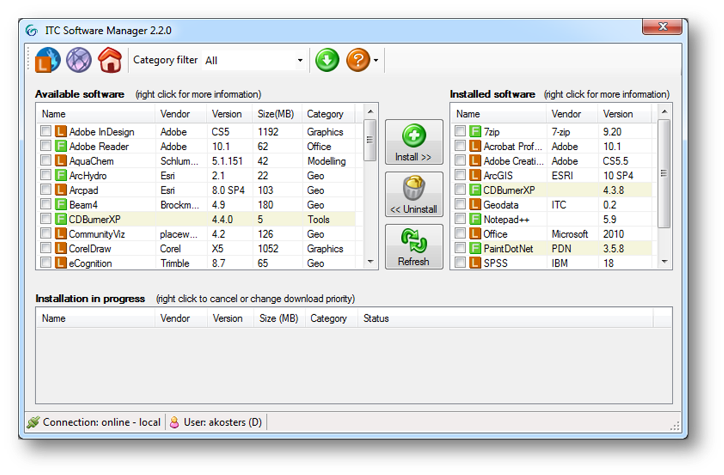
The two main actions being performed here are:
- Install Software
- Uninstall Software
Install Software:
The available software window will show you the name of the Software item available, including the symbols for ‘Free’ (

) software and ‘Licensed’ (

) software. Licensed software means that ITC
or UT owns the license of this software item, which means that all licensed software will need to be uninstalled at the end of your course / study at ITC. The free software
may remain on your system.
Also the version number and the size of the software application is mentioned. Before selecting any of the applications, please take notice of the size of the application, to make sure that you have enough free disk space, as well that the download / installation time of the software application will take a certain period of time.
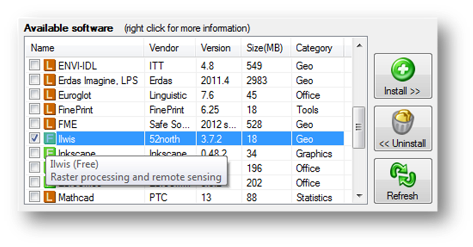
By selecting your software you will find a ‘mouse over’ box appearing, which gives you a short description of what is the software application about (see figure below)
At last, when a new software item has been made available on the server, in some cases it might be needed to click the refresh button to be able to see it in your ‘Available software’ overview.
Once you have selected the software applications needed, click the ‘Install’ button in order to start the download / installation.
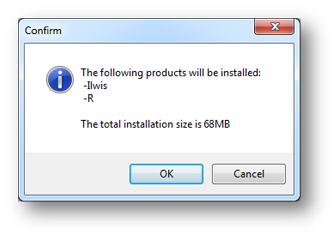
At first, the total size of the selected software applications will be verified and shown in the Confirm popup, which appears after the ‘Install’ button has been fired.
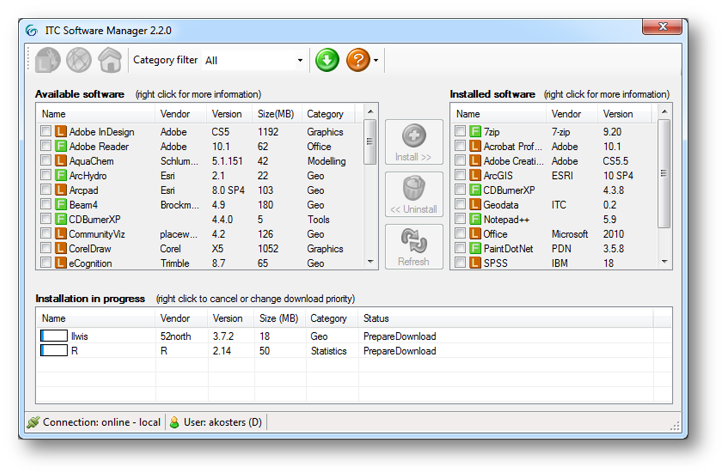
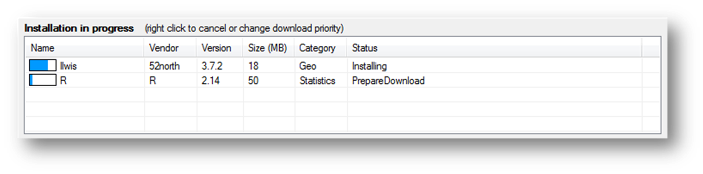
Next, the selected software application will appear in the ‘Installation in Progress’ window. (See figures below) This installation procedure consists of 2 steps, first a download will be done, which might take some time, depending on the size of the software applications selected, as well on the available internet connection / download speed.
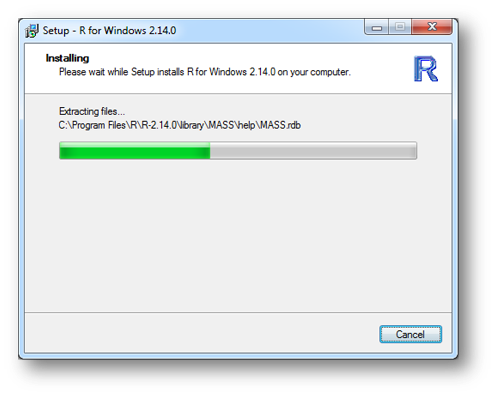
Once the software application has been downloaded (as shown in the figure above), the next step is the installation of the software package. A unattended installation will be done during this process. (see figures below)

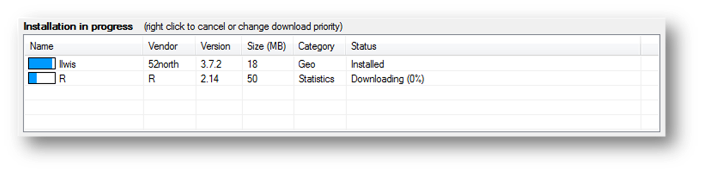
After the installation for a specific software application has been finished, the status of the current item will be displayed as ‘installed’, and will become visible in the ‘Installed software’ window.
Uninstall Software
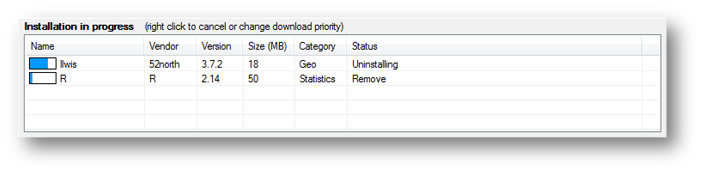
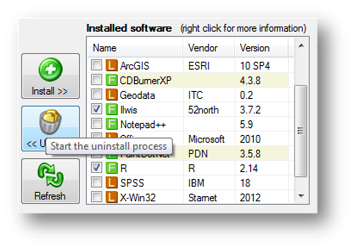
After the selected software items have been successfully installed, the software applications will be shown in the ‘Installed Software’ window. In the ‘Installed Software’ window, you can select the software applications you want to uninstall.
Important: Software items which are shown to be licensed are mandatory to be uninstalled at the end of the course / study at ITC.
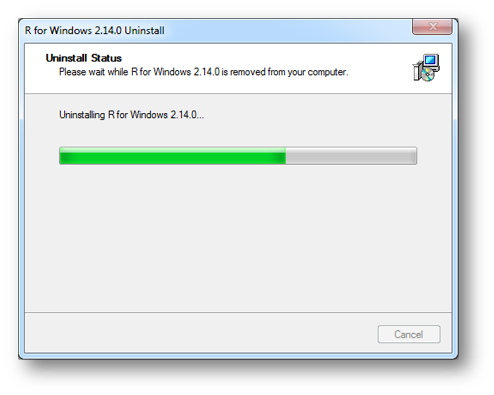
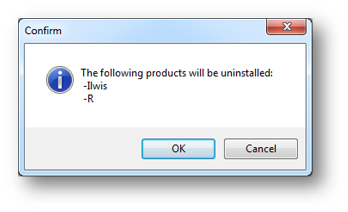
In order to uninstall, select the software applications of choice to uninstall, and select the ‘Uninstall’ button.
Prior the uninstall, a confirm message will appear:
This will result in the software applications to get uninstalled, as shown in the figures below.